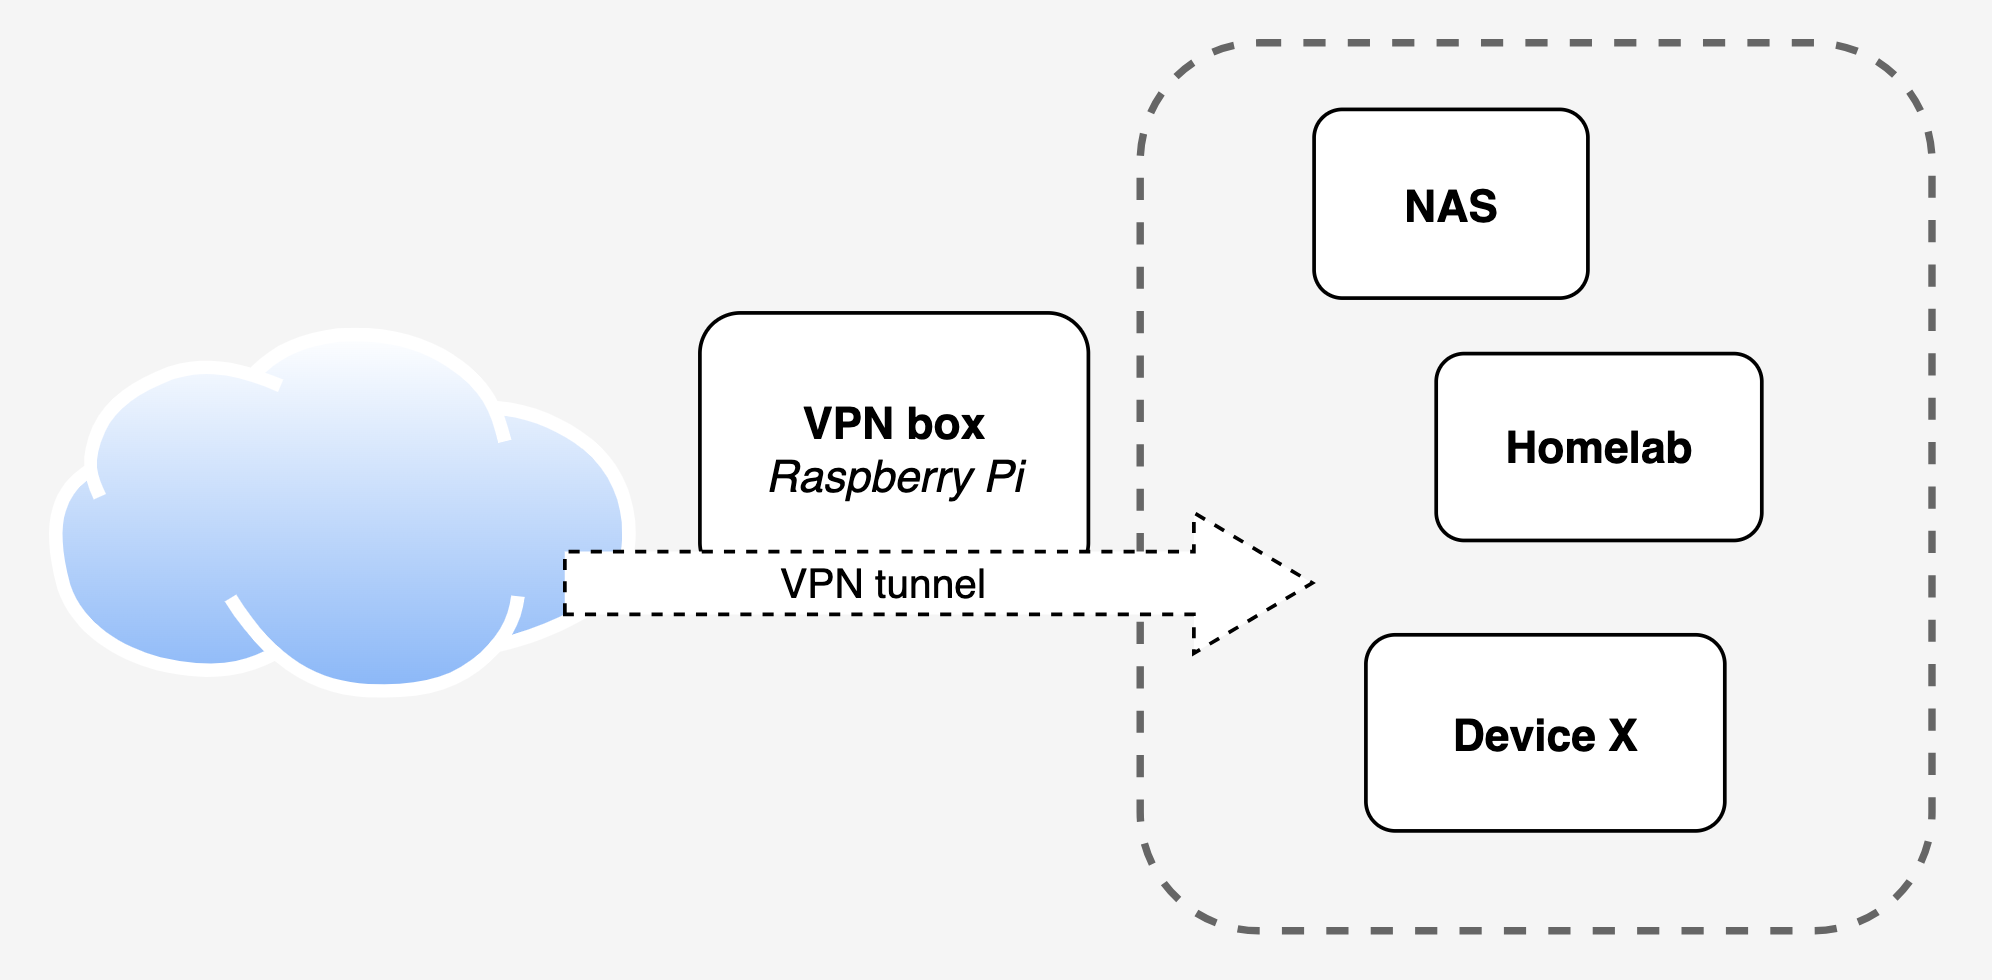
In my quest of building a homelab I wanted to set up a VPN to access my internal network from anywhere. Read on to see how I’ve set this up with Wireguard.
The plan
Among other devices in my network I have a Synology NAS, which I don’t want to expose to the internet. But I do want to be able to connect to the NAS and work on my homelab servers from outside my home.

I’ve chosen Wireguard to serve as my VPN protocol. It’s quite easy to set up and has apps available on mobile and desktop platforms. The only thing is, you will need a static public IP address to be able to connect. If you don’t have that you can either use a service like ZeroTier or a Dynamic DNS (DDNS) service.
Let’s dive into setting up Wireguard on a Debian based system, in my case a Raspberry Pi. WireGuard is a lightweight, fast, and secure VPN protocol. You use it by installing the WireGuard app on your phone or laptop then importing a configuration file provided by the server. Now you’re ready to connect!
Wireguard installation
→ Install Wireguard.
Let’s also install qrencode to generate a QR code for the mobile client,
which can be scanned right off the terminal to add the VPN profile to the Wireguard app.
|
|
→ Create a private and public key for the server. Don’t share your private key with anyone.
|
|
A private and public key will also need to be generated for the every single client that connects via Wireguard. I tested this via my mobile phone with the Wireguard app.
→ Create a private and public key for the mobile client.
|
|
Server configuration
→ Edit /etc/wireguard/wg0.conf and add the following configuration:
|
|
- Replace
and with the keys you generated earlier. - Double-check your network device name (eth0 in this case). Run
ip ato confirm it. - Your VPN subnet (10.7.70.0/24) must not clash with your home subnet.
- You can name the config anything instead of
wg0. Just make sure you use that name everywhere instead.
Server [Interface]
PrivateKey |
Paste your generated private key here. |
Address |
Subnet for your VPN, make sure this is different than your home subnet. |
ListenPort |
Port for Wireguard to work on. |
PostUp |
Enable traffic forwarding and Network Address Translation; makes sure you can access your home subnet. |
PostUp |
Remove traffic forwarding and NAT, when disabling Wireguard. |
Server [Peer]
PublicKey |
Paste your generated public key for your client, in our case ‘phone’ here. |
AllowedIPs |
Allowed IP’s to be assigned to client. |
Add multiple [Peer] sections for each client you want to connect to the VPN.
Client specific configuration
→ Create a client configuration file, phone.conf in the already created clients directory.
|
|
✅ This file is the one you have to distribute to your clients Wireguard app!
Client [Interface]
PrivateKey |
Paste your generated private key here, for your client (phone). |
Address |
Indicate the actual IP the client is going to be assigned to. |
Client [Peer]
PublicKey |
Paste your generated public key for your client, in our case ‘phone’ here. |
Endpoint |
Put your IP or domain here. It’s your own (external) IP. |
AllowedIPs |
IP ranges reachable by the client. In this case the VPN subnet and the home subnet. |
Commands
→ Enable and start the Wireguard service based on you wg0 configuration file.
|
|
→ Stop Wireguard for the wg0 configuration. This will reset the network configuration.
|
|
→ Start Wireguard with the wg0 configuration:
|
|
→ Restart Wireguard after making a config change:
|
|
Generate a QR code to scan
To be able to use the VPN on your mobile phone, install the Wireguard app. You can generate a QR code in the
terminal with qrencode, open the app and scan the code to add the VPN profile.
|
|
Verifying and troubleshooting
(1) Verify via your phone or device
You should be able to connect from your phone to your internal network.
- Turn off Wi-Fi on your phone.
- Connect to the VPN (either by scanning the QR code on your phone or importing the configuration file).
- Try accessing your NAS or router’s web interface.
(2) Check if the VPN still works after a reboot
|
|
(?) My VPN server is not reachable anymore
This is mostly due to a mis-configuration in the IP ranges in the wg0.conf file.
- Make sure the internal subnet actually matches with yours.
- Double check if the VPN subnet is different from the internal one.
(?) I’ve added a new client, but it can’t connect to anything on my (internal) network
- You may have forgotten to add a new
[Peer]section in thewg0.conffile - You did not restart the Wireguard service after adding the new client (
sudo systemctl restart wg-quick@wg0) - Did you distribute a correct client file with correct IP-addresses and ranges that don’t conflict with other clients?
